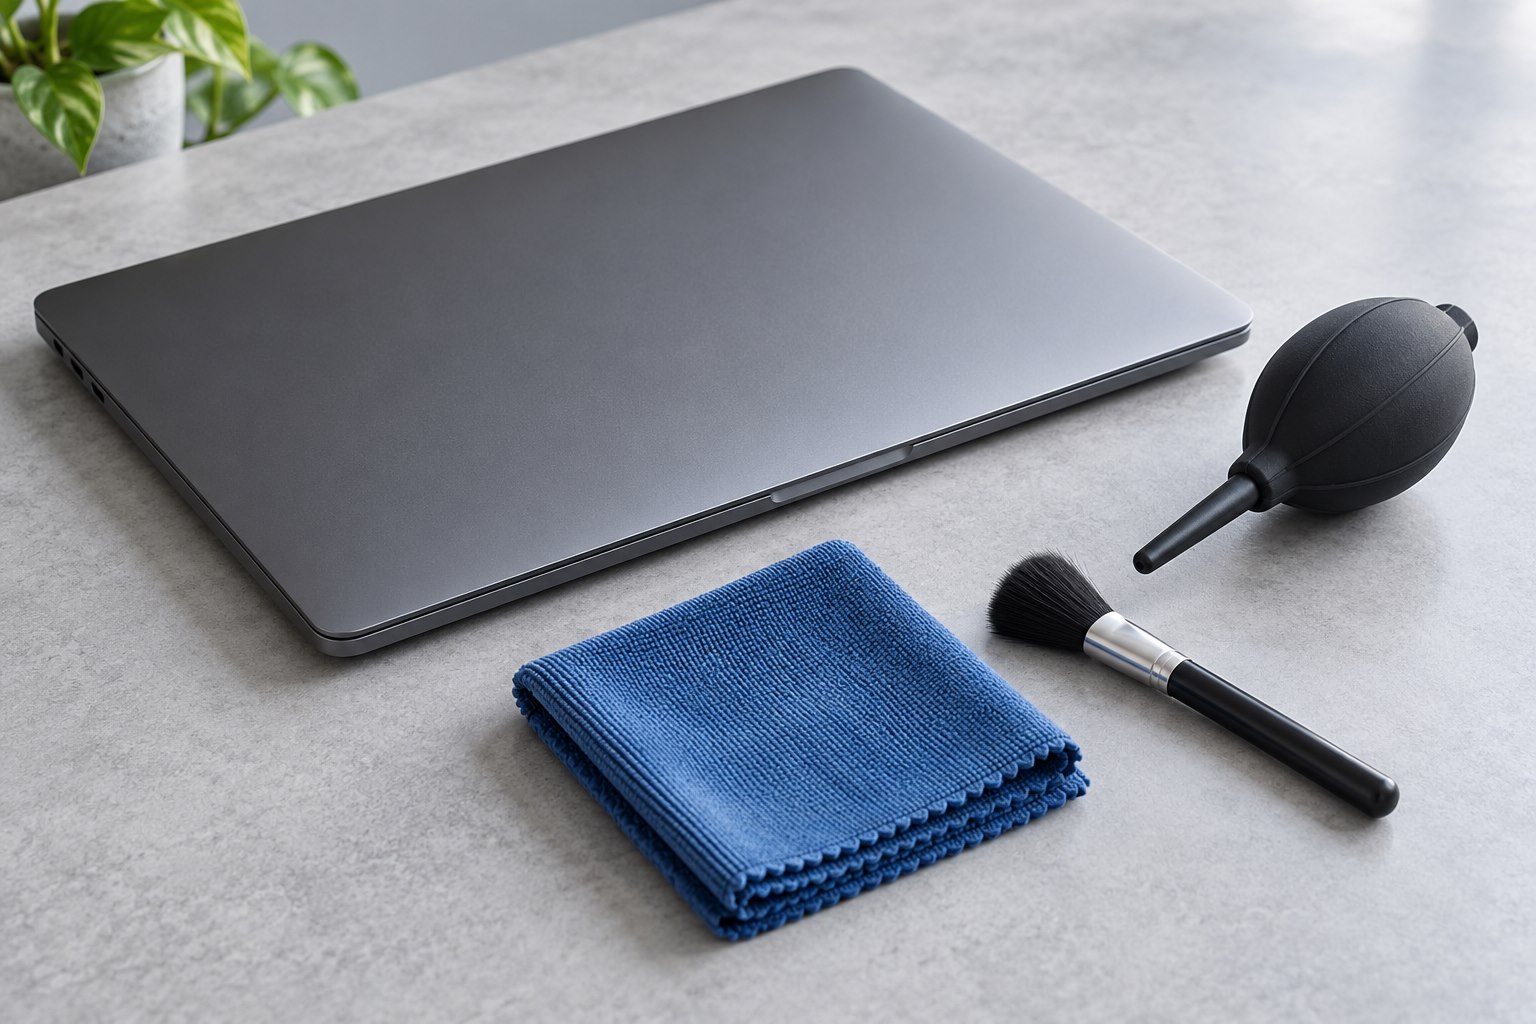
Identify the surface before choosing a cleaner
Monitor coatings differ, and a method suitable for one display may be unsuitable for another. Find the cleaning instructions for the exact model, especially if it uses a specialized texture or coating. Do not assume a household glass cleaner, alcohol wipe, or general electronics spray is approved. The aim is to remove ordinary dust and marks without changing the surface. Check the frame and screen separately; materials tolerated on the enclosure may not be appropriate for the panel. If the manual calls for a particular cloth or solution, follow that requirement rather than substituting a stronger product because a mark looks stubborn.
Prepare the desk and cloth
Turn the display off and disconnect power as directed by the manufacturer. A dark cool screen makes marks easier to see and helps avoid confusion between dirt and an image defect. Use a clean soft lint-free cloth suitable for the surface. A cloth that previously cleaned a desk can contain grit capable of scratching a coating. Keep a screen cloth separate from general cleaning supplies. Remove loose surface dust gently before addressing fingerprints. Avoid pressing on the panel or using a fingernail through the cloth to scrape a small spot; concentrated pressure can damage the display even when the cloth itself is soft.
Use moisture sparingly
If the manufacturer's instructions allow a damp cloth, lightly dampen the cloth rather than spraying the screen. It should not drip or leave liquid running toward the bezel. Wipe gently and avoid repeated forceful rubbing in one place. Use a clean dry part of the cloth afterward if the instructions permit it. Do not push liquid into seams, controls, or ventilation openings. A stubborn mark may need a second gentle pass with an approved method, but escalating to an unapproved solvent can turn a cosmetic issue into permanent coating damage. Stop if the surface changes appearance or begins to feel unusual.
Distinguish dirt from damage
A mark that remains visible after careful approved cleaning may be a scratch, coating wear, or a panel issue rather than removable residue. View it with the screen off and with ordinary content, without pressing on it. Photograph the condition if you need support, keeping the lighting consistent enough to show the problem. Avoid repeated cleaning attempts simply because a defect is frustrating. The manufacturer can advise whether the condition needs service or whether a specific approved method is appropriate. Cleaning should be a short maintenance task, not an experiment with increasingly abrasive materials.
Make future cleaning easier
Keep hands away from the panel when repositioning the monitor; hold the supported frame or stand as directed. Move drinks and sprays away from the display. Wash or replace the cleaning cloth according to its own instructions so it remains free of grit and oily residue. Store it in a clean pouch rather than loose among tools. After cleaning, allow any permitted moisture to dry before reconnecting power. A light routine performed when needed is easier on the surface than waiting for heavy buildup and then scrubbing. The most useful cleaning kit is the one matched to the display, clearly labeled, and simple enough to use correctly every time.
Sources & further detail
These references support the technical context. Examples and selection advice are editorial explanations; verify the documentation for your exact equipment and software.
A detail we should revisit? Send the guide URL and the relevant documentation to SmithKent5791@outlook.com.
Read the editorial policy