Find the side that listens
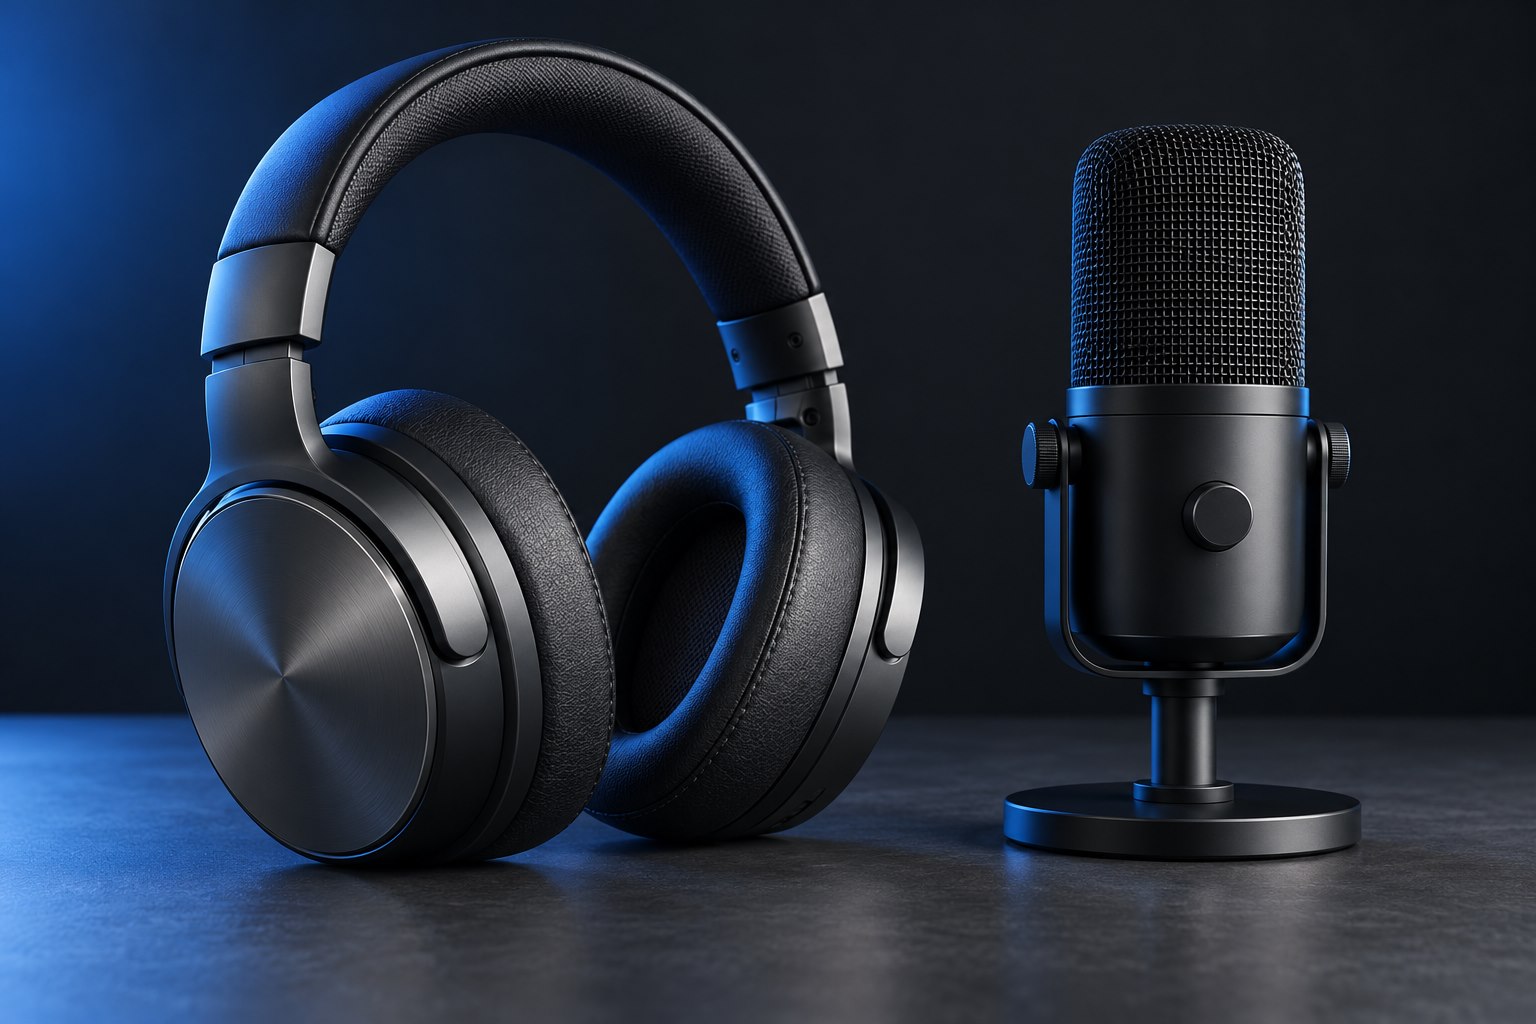
Microphones are not all addressed from the same direction. Some capture speech through the end; others are intended to face the speaker from the side. Use the manual's diagram, not the position of a decorative grille, to locate the active direction. Speaking into the wrong part can make a capable microphone sound distant or dull. Start with its intended pickup pattern and position. A cardioid design favors the front and rejects some sound from the rear, but its rejection is not an invisible wall that removes every noise elsewhere in the room.
A side-address microphone may have a front identified by a logo or a marked pickup diagram, but those conventions are not universal. Keep the manual's orientation illustration accessible during initial setup. Once the active side is established, position the controls so they remain reachable without rotating the microphone away from the speaker every time mute or gain needs adjustment.
Shorten the useful distance
Moving the microphone closer increases the proportion of direct voice relative to room reflections. That can make speech clearer in an ordinary furnished room. Keep enough distance to avoid repeated breath bursts, and use a pop filter or an angled position if necessary. There is no single distance that suits every microphone and voice. Begin with the manufacturer's suggested range, record a sentence, and adjust in small steps. If you lean toward the screen while speaking, place the microphone where it follows your normal posture rather than asking you to hold a rigid position for every recording.
Use direction to manage distractions
Identify the main unwanted sound: a keyboard, fan, open doorway, or loudspeaker. With a directional microphone, place that source toward a less sensitive part of the pickup pattern where practical. This is more effective than turning the microphone randomly after increasing gain. A keyboard directly below the microphone may remain audible even when the computer fan is behind it. Test while actually typing if typing is part of your calls. If possible, use headphones while recording so speaker playback does not enter the microphone and become part of the captured signal.
In a shared room, try placing the speaker and microphone so the strongest distraction lies behind the microphone's least sensitive direction, if the pattern supports that arrangement. This may mean moving the computer tower or changing which side of the desk holds the arm. It is a practical layout choice rather than a promise to remove the distraction completely. Compare a recording with the noise present so the decision reflects ordinary conditions.
Listen for proximity and reflections
Many directional microphones become bassier at close distances. This proximity effect can make a voice sound full, but it can also obscure words. If the sound becomes muddy, move back slightly or try the microphone's low-frequency filter when provided. A large bare desk can create reflections; a microphone placed just above it may capture a different tone from the same microphone on an arm. Compare a few positions with the same words and input level. Do not assume that the position producing the loudest waveform is the clearest. Adjust gain after choosing the position, then compare at similar playback loudness.
Make the good position repeatable
Mark the stand location discreetly or note the arm's orientation. Leave a small loop of cable so movement does not tug the connector or transmit vibration. Check that the microphone stays out of the keyboard path and does not hide the screen. Record a short test at the start of a new session, especially after moving furniture or switching from sitting to standing. Consistency makes editing easier because tone and room sound remain similar. If the room still dominates, address distance and nearby reflective surfaces before relying on aggressive software cleanup, which may trade background noise for unnatural speech artifacts.
If you alternate between reading a script and looking at a screen, place the script where those movements do not repeatedly turn the mouth away from the microphone. A document stand or a window positioned near the camera can help keep the direction consistent. The goal is an easier working posture and steadier speech level, not a rigid recording pose.
Keep one variable fixed at a time
Compare distance first, direction second, and gain last. Save each short sample with a descriptive name such as near angled or farther centered. Otherwise several simultaneous changes can produce a better result without teaching you which adjustment made the difference.
Sources & further detail
These references support the technical context. Examples and selection advice are editorial explanations; verify the documentation for your exact equipment and software.
A detail we should revisit? Send the guide URL and the relevant documentation to SmithKent5791@outlook.com.
Read the editorial policy