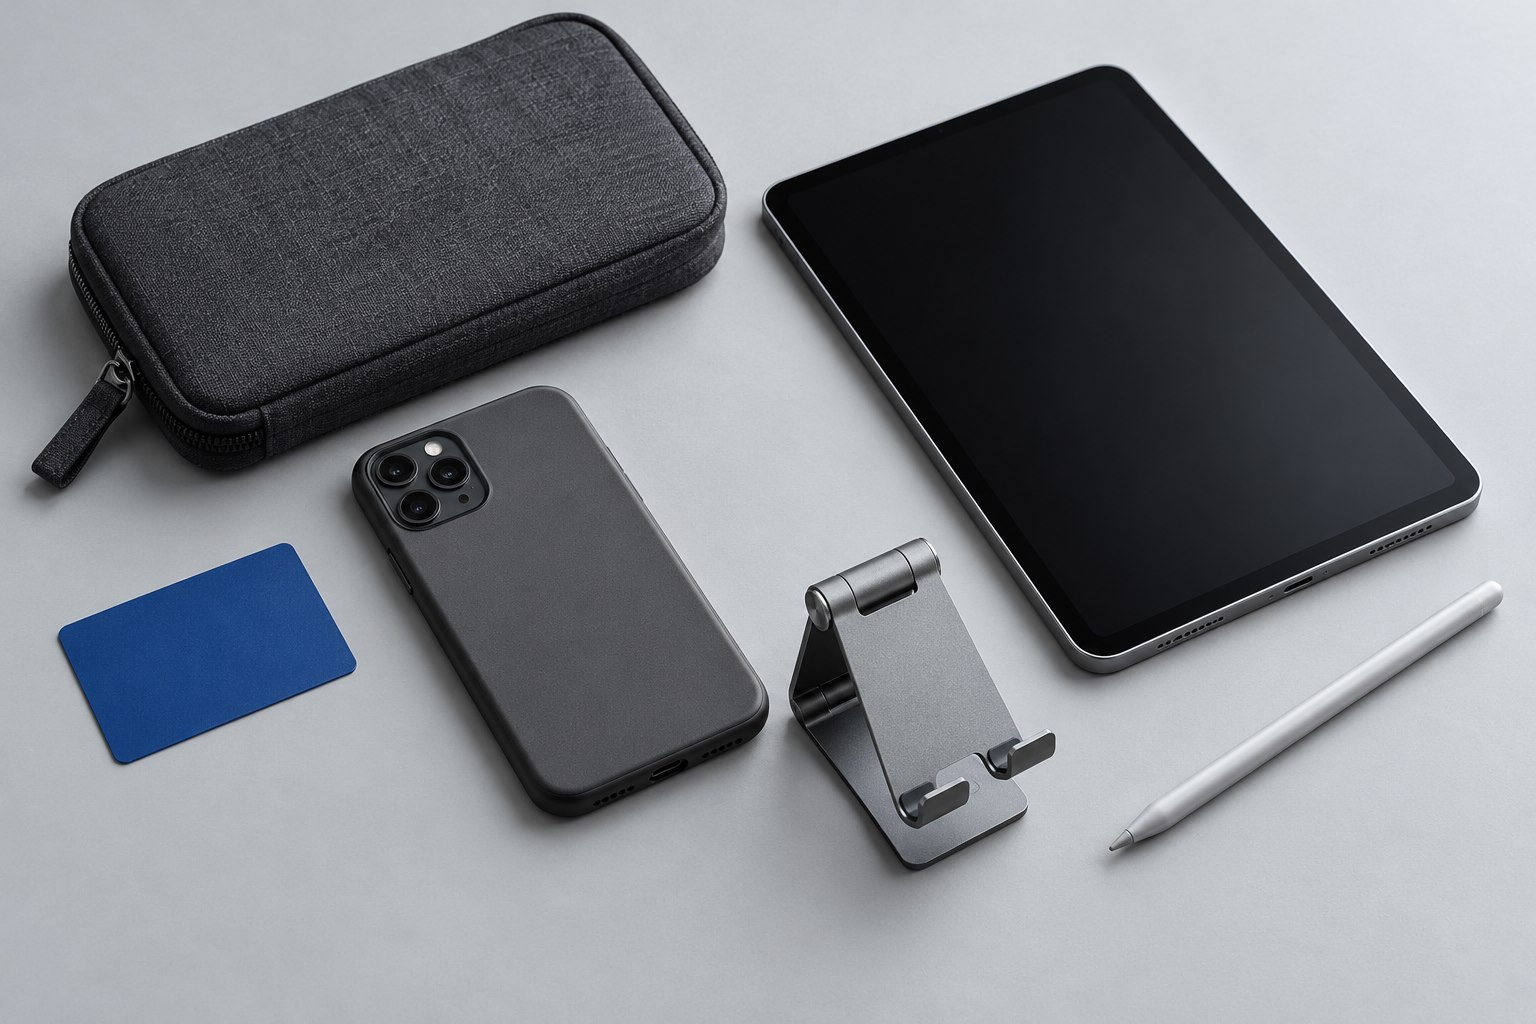
Measure the fitted phone
A clamp's width range should include the phone with its everyday case attached. Thickness matters too: a deep protective case can sit poorly in shallow jaws even when its width is acceptable. Measure the device across the section where the clamp will grip, including any raised edge or button that changes the shape.
A spring clamp is quick to use, while a screw-adjusted clamp can offer more deliberate positioning. Neither mechanism is automatically secure. Contact pads should meet the case evenly, and the phone should not rock against a camera bump. Set up over a soft surface until you understand how the release works.
Locate the attachment points
Many phone mounts connect through a quarter-inch tripod thread, and some also offer a cold shoe connection or an accessory mount. JOBY's current mount documentation illustrates why these interfaces should be read separately: the phone attachment, tripod connection, and accessory attachment are different parts of the assembly.
Check that the tripod screw engages properly without being forced. A screw that bottoms out before the mount is snug can leave a loose connection. Use only the spacing or adapter the equipment maker specifies; stacking random washers can reduce engagement or damage a small mount.
If the phone rotates between portrait and landscape, inspect the locking mechanism in both positions. A mount may stay firm horizontally yet sag when a tall phone places more leverage on the joint.
Keep buttons and lenses clear
Position the clamp so it does not hold a volume or power button down. On some phones, a volume button can trigger the camera, making an unfortunate clamp position look like a software problem. Check the charging port and microphone openings as well if the recording setup uses them.
Open the camera and look through every lens you intend to use. An ultrawide view can include the clamp, tripod head, or an attached accessory even when the main camera view is clear. Reframe before recording rather than discovering a dark mount edge during editing.
A small light or microphone mounted above the phone changes the balance. Add each accessory with the tripod supported and recheck every joint. The mount's own weight rating does not necessarily establish what the entire tripod can safely support at an extended angle.
Test the surface and the action
For a static tutorial, tap the screen to focus and observe how long the picture shakes. A flexible tabletop or tall center column may be the weak point even when the clamp is excellent. Lower the setup, widen the legs where possible, and move cables so they do not pull on the phone.
A tabletop tripod should remain on the table; do not improvise an overhead rig from a short stand that lacks the required reach and counterbalance. For overhead work, use equipment intended for that orientation and keep the phone out of a position where a fall could hit someone.
Before a real recording, capture a short sample, play it back, and check framing and sound. Then inspect the clamp once more after any change in orientation. A dependable small filming rig is built from a chain of correctly fitted connections, not from one impressive component.
Sources & further detail
These references support the technical context. Examples and selection advice are editorial explanations; verify the documentation for your exact equipment and software.
A detail we should revisit? Send the guide URL and the relevant documentation to SmithKent5791@outlook.com.
Read the editorial policy