Ask the room a few specific questions
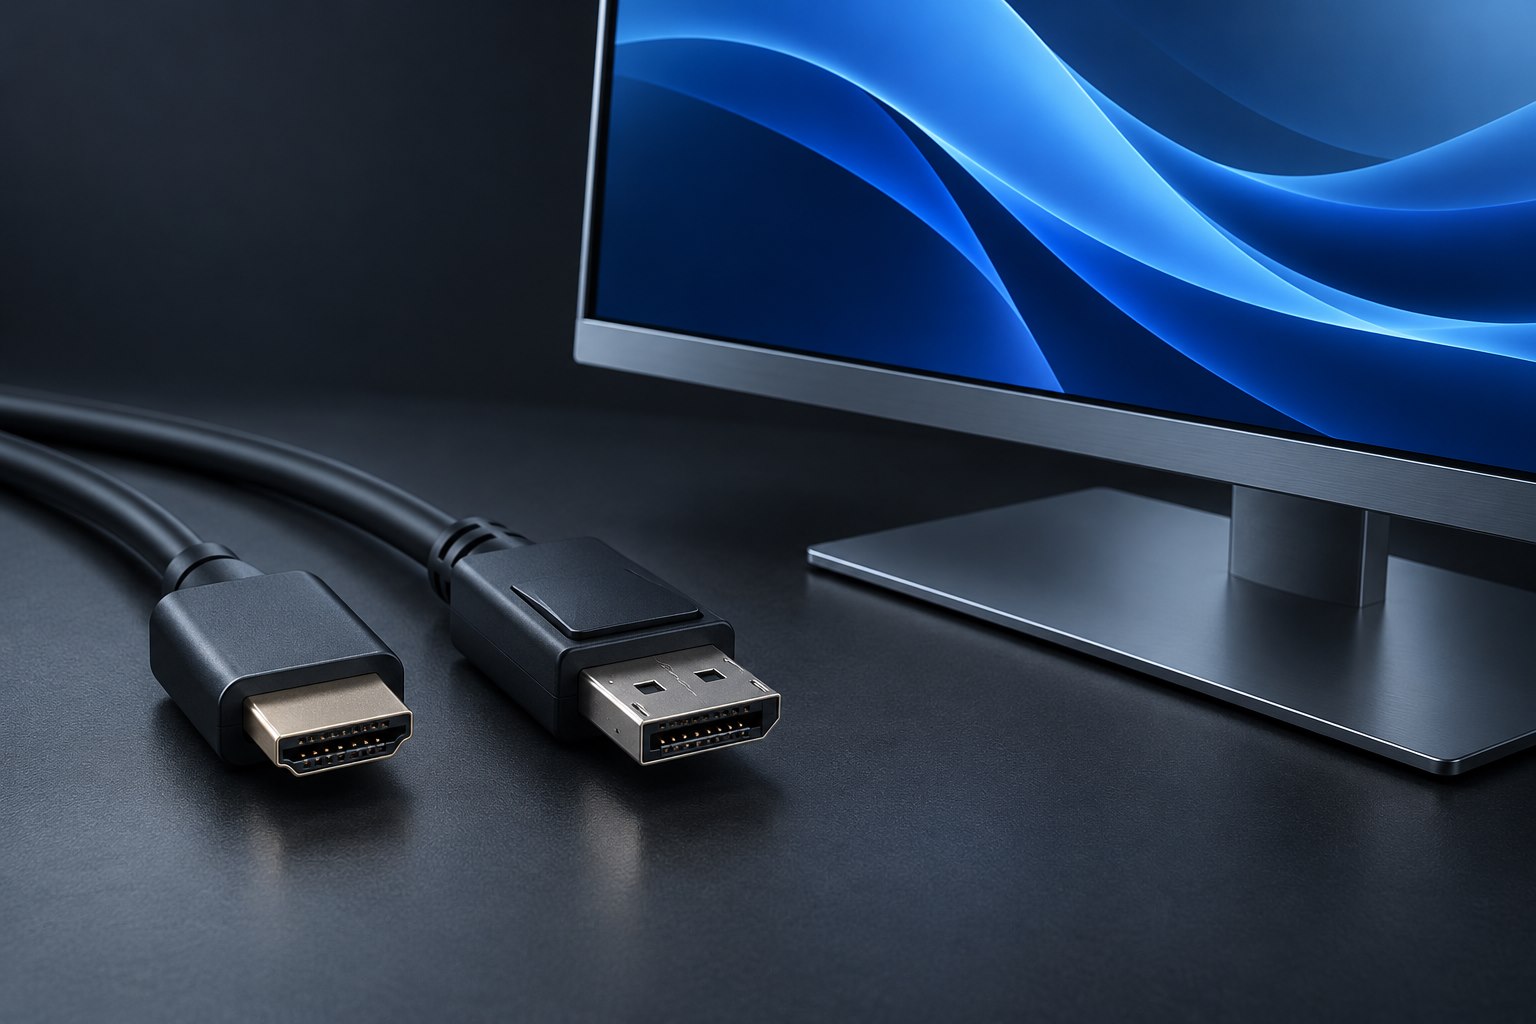
Before a presentation, find out which cable or input is available at the lectern, whether audio is required, and what display mode the room supports. A photograph of the connector can help, but the room's equipment list is better. Some rooms provide HDMI, others still expose VGA, and some have an installed switching system with its own limitations. The adapter kit should match those actual environments rather than every port ever made.
For a regular route between two offices, document both rooms once and keep the note with the kit. For an unfamiliar venue, allow time for a connection check before the audience arrives. A spare file format or local copy of the presentation addresses a different problem from the video cable, so prepare both without assuming one can rescue the other.
Confirm the laptop's output path
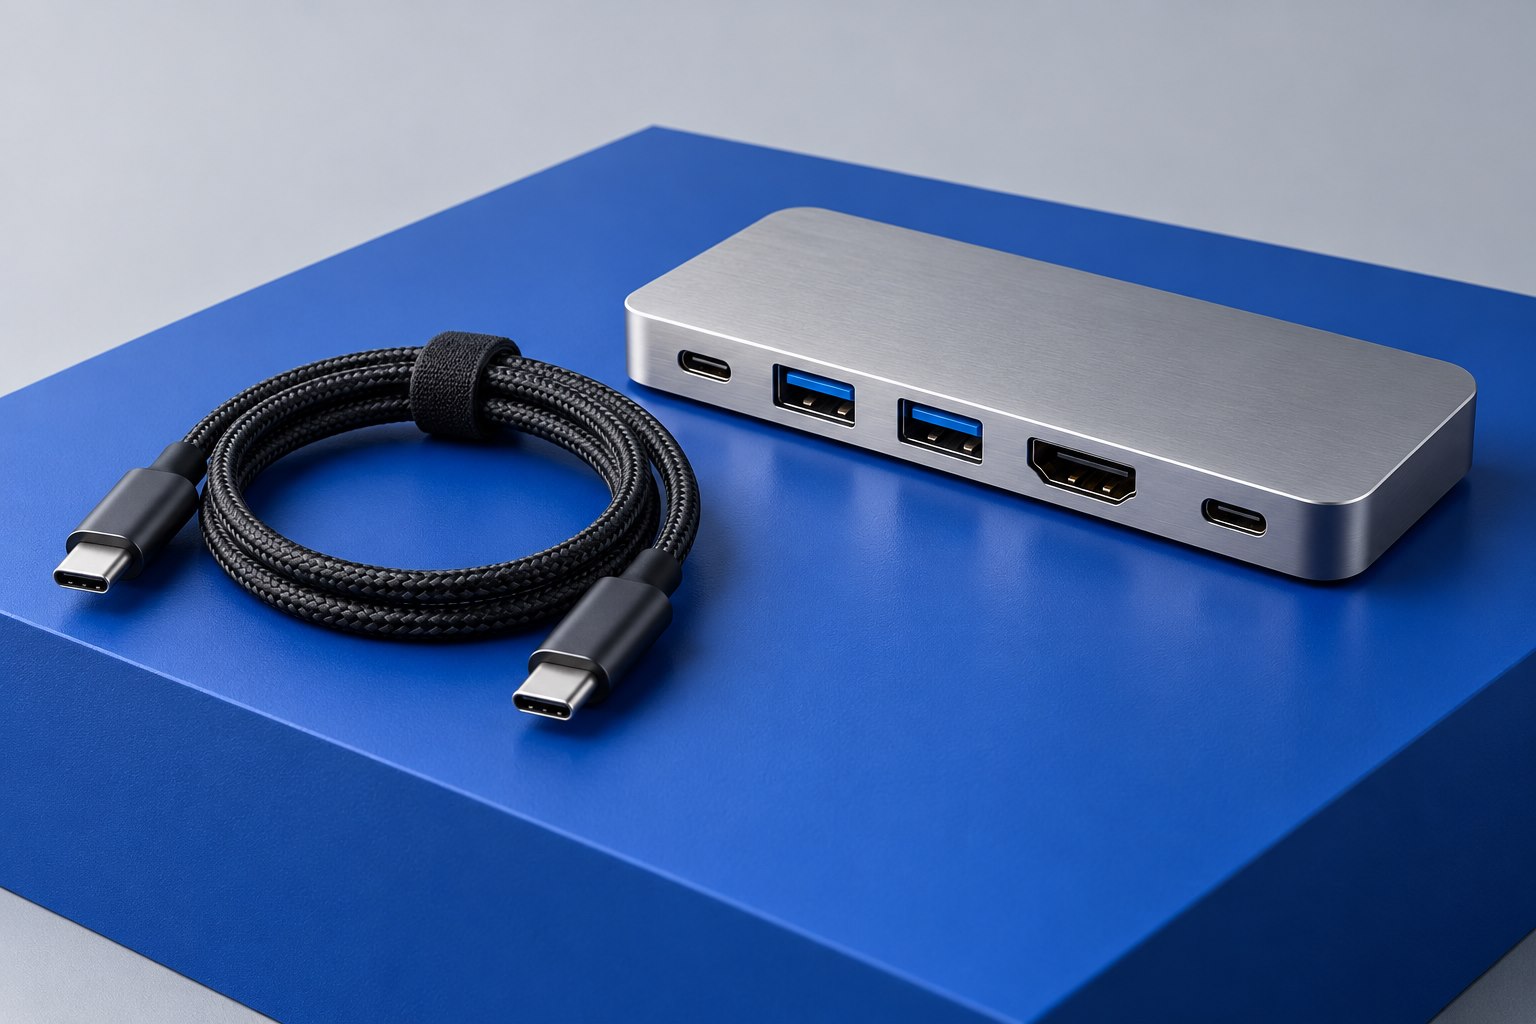
If the laptop uses USB-C for video, verify that the chosen port supports the required display function. A typical USB-C adapter relies on an existing video-capable path. An older USB-A port usually needs a different class of display accessory with software, which may be unsuitable for a managed presentation computer. Test the exact laptop and adapter before treating it as a universal kit.
Choose the fewest conversions that reach the room's input. A direct USB-C-to-HDMI adapter is easier to understand than a chain that changes formats twice. For a VGA-only room, use a suitable active adapter documented for the source and destination. VGA carries an analog picture, so any required audio needs a separate supported route. Do not expect a VGA cable to behave like an HDMI connection with sound.
Keep the kit small but purposeful
- Carry the adapter for the room's common input and a clearly labeled compatible spare only when a failure would materially disrupt the event.
- Include the laptop charger and enough cable reach for the actual lectern or table arrangement.
- Keep a short known-good display cable if venue cables are frequently damaged or inaccessible.
- Include an audio connection only when the presentation requires sound and the room's documented path needs it.
- Store the adapter model and laptop port information in a note, so replacements preserve the same capability rather than only the same shape.
Choose a mode the room can display clearly
A projector's accepted input resolution may exceed its native panel resolution, so sending a large desktop does not necessarily produce more visible detail. Epson's projector documentation distinguishes supported input formats from the display's native characteristics. For slides, check text size and contrast from the back of the room instead of judging only the laptop screen. A technically successful connection can still deliver unreadable small text.
Set mirroring or extension deliberately. Mirroring is simple for a straightforward talk; extension can support presenter notes, but it requires confirming which screen receives the audience view. Test a slide transition, embedded video, and audio if they are part of the session. Close unrelated windows before presenting so a display-mode change does not reveal an unintended application.
Leave with the kit complete
After the session, unplug by the connector housing and check that small adapters have not remained attached to the room cable. Use a pouch with a visible place for each item rather than a loose pocket of black leads. Repack the working configuration immediately. The best presentation kit is a repeatable arrangement: known source port, known adapter, known power, and enough setup time to adapt when a room differs from its description.
Sources & further detail
These references support the technical context. Examples and selection advice are editorial explanations; verify the documentation for your exact equipment and software.
A detail we should revisit? Send the guide URL and the relevant documentation to SmithKent5791@outlook.com.
Read the editorial policy