Disconnect before the first wipe
Turn off wireless devices and disconnect wired ones before cleaning, following the manufacturer's instructions. Remove user-replaceable batteries if the guide recommends it. This prevents accidental input and makes it easier to inspect the device without a live connection. Clear the desk so small removable parts cannot disappear into clutter. Identify the model first, because a mechanical keyboard, laptop keyboard, fabric-covered wrist rest, and rubberized mouse shell can require different care. A cleaning method described for one product should not be assumed safe for every material that happens to look similar.
Remove loose debris without forcing it deeper
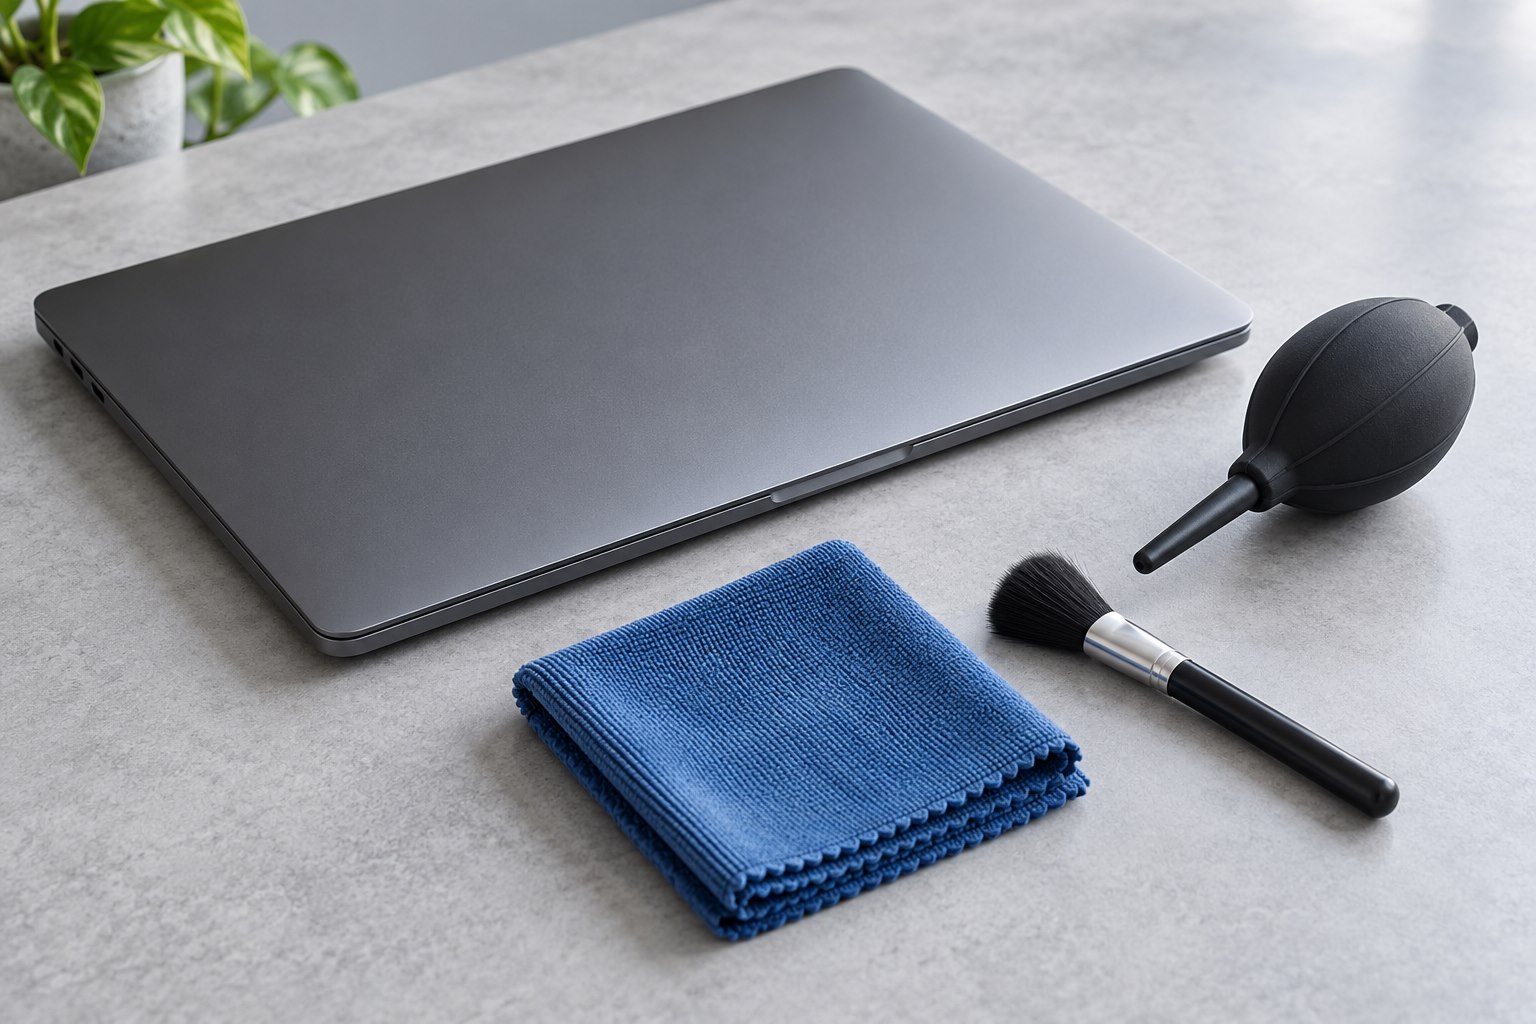
Use the maker's recommended gentle method for dust and crumbs. A soft brush can help around accessible gaps when approved, but do not push debris into switches or optical openings. If compressed air is permitted, follow both the device and can instructions, including orientation and distance. Avoid turning the procedure into a high-pressure blast. Laptop keycaps and low-profile mechanisms can be fragile and are not automatically removable for cleaning. A cap that can be pulled from one mechanical board does not establish that the same procedure is suitable for another keyboard.
If a single key is sticky after a spill, distinguish that condition from loose dry dust. Exterior cleaning may not reach residue inside the mechanism. Avoid adding more liquid through the key gap in an attempt to flush it out. Use the product's spill or service guidance when normal surface care does not address the problem.
Treat the surface as a material-specific job
Lightly dampen a suitable cloth only with an approved cleaning agent and keep liquid away from openings. Spray onto the cloth when the instructions call for moisture, never directly into the keyboard or mouse. Do not saturate seams, scroll wheels, or button gaps. Some coatings can become sticky or discolored after exposure to unsuitable solvents. Test only as the manufacturer directs rather than improvising on a hidden area and assuming the result will generalize. Use gentle passes and let the surface dry completely before restoring power. More liquid does not make the cleaning more thorough when it reaches components that should remain dry.
Remove parts only when the design allows it
If a keyboard explicitly supports keycap removal, photograph the layout first and follow the recommended tool and technique. Wide stabilized keys may require different handling from letter keys. Keep cleaned caps separate and allow them to dry fully before reinstallation. Do not remove switches or open a mouse merely to make routine cleaning easier unless the product's service guidance supports that work. For a trackball, follow its specific ball-removal and support-point cleaning instructions. What appears to be a stubborn mechanical fault can sometimes be debris, but unnecessary disassembly can create a larger problem than the one being investigated.
Verify normal input afterward
Reconnect the device and test ordinary typing, clicking, scrolling, and any side buttons. If a key behaves differently after cleaning, stop and inspect the documented seating or drying requirements before repeatedly pressing it. Keep food debris and drink containers away from the main input area, and clean the desk surface so the device is not immediately placed back into dust. Store a dedicated cloth and any approved tool together. A modest regular routine preserves useful devices without needing a dramatic deep clean, and it makes new problems easier to recognize because the normal condition is familiar.
Sources & further detail
These references support the technical context. Examples and selection advice are editorial explanations; verify the documentation for your exact equipment and software.
A detail we should revisit? Send the guide URL and the relevant documentation to SmithKent5791@outlook.com.
Read the editorial policy